Introduced in Toolbag 5, Carve Groups are a group type in Texture Projects. They enable blending multiple layers with a single height-style blend mask. This feature is particularly useful for simulating buildup effects such as accumulated dirt or eroded paint and metal. By modifying the layers in the height-style gradient, you eliminate the need to manage individual masks for each layer.
Carve Groups can be used with Sync Points to create smart, surface-aware dirt, erosion, and wear effects that carve through material layers.
Carve Groups are available in the Layers window of your Texture Project. You can convert standard groups to Carve Groups with an RMB click. Carve Groups can be nested within other Carve Groups for more complex effects, and their individual layers can have masks, providing greater control over where they appear.
Each layer maps to a configurable value range, with a gradient-style interface that makes it easy to control the weight or influence of specific layers.
Active Maps #
The Active Maps section specifies which texture maps are modified by the Vector layer. Only selected maps will affect the vector-generated details.
Carve Settings #
You can make the bottom layer of a Carve Group invisible while still using it as the base for carving and blending. This allows the carve masks and layers above to blend correctly without the base layer contributing any visible material to the final result.

| Setting | Description |
|---|---|
| Invisible Base Layer | Allows building mask effects that blend with the layers below. |
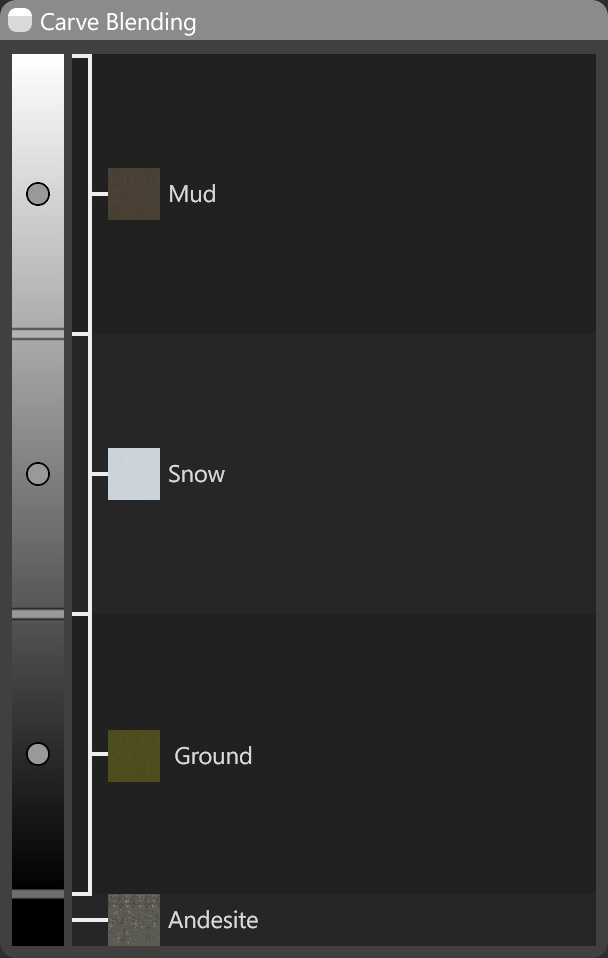
Carve Blending #
The Carve Blending controls manage how the carve mask affects layer blending within a Carve Group. This section enables precise adjustment of the mask’s influence on the final result and controls the smoothness of layer transitions during carving.
Note: You can right-click the gradient and choose Normalize to reset the transitions between layers.