
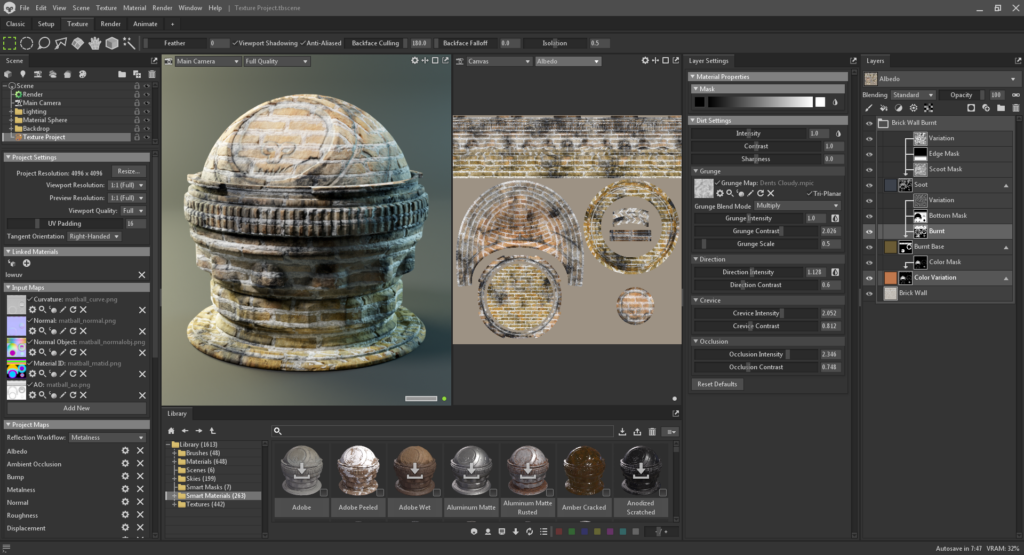
After setting up a Texture Project, select it in the Scene hierarchy and begin working with the Layers window. The Layers window allows you to add content from the Library and build up layers and masks using the various existing layer types.
Toolbag’s texturing system has infinite layering and masking functionality, which means you can stack and mask any layer type to paint complex materials in a completely non-destructible workflow. You can create as many Groups, Layers, and Masks as you want. Mask layers can also be masked with child layers that only influence their parent layer.
Keep your work organized by grouping, merging, and rasterizing your layers. If you ever change your mind about a layer, you can easily convert your layer type without compromising your art.
There are two ways to open the Layers window:
- Open the Texture Workspace tab and find the Layers window
- Go to Main Menu > Window > Layers
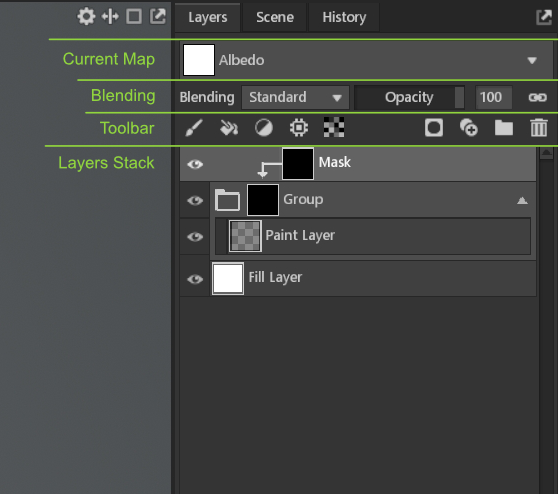
The Layer Settings window displays settings for the layer you’re working with. These settings can vary depending on the type of layer you’re working with. You can open the Layer Settings tab via Main Menu > Window > Layer Settings. The Tool Settings window lets you configure the settings of the selected tool, such as the Gradient tool, Paint Brush, etc. You can open it via MainMenu > Window > Tool Settings.
| Setting | Description |
|---|---|
| Current Map Type | Selects the map you will be working on. This list of maps available is based on the added Project Maps. |
| Blending | Determines how the selected layer is blended with other layers. Note: Blending only applies to the current map type. |
| Opacity | Set the opacity for the selected layer. |
| Opacity Linking | Toggle opacity linking, which synchronizes the opacity setting for all map types. Turn off to adjust the opacity of only the selected map type. |
| Adds a paint layer. | |
| Adds a fill layer. | |
| Adds an adjustment layer. | |
| Adds a processor layer. | |
| Add a new procedural layer. | |
| Adds a mask to the selected layer. | |
| Duplicates the selected layer. | |
| Adds a group. | |
| Deletes the selected item(s). |
Layer Stack Context Menu #
Right-clicking on any layer opens a context menu with several options for making changes to your layer.
| Setting | Description |
|---|---|
| Delete | Delete selected layers or masks. |
| Duplicate | Duplicate selected layer or masks. |
| Group Selected | Create a group from selected layers or masks. |
| Ungroup | Ungroup content inside a selected group. |
| Copy Layer/Mask Stack | Copy selected layers or mask stack. |
| Copy Layer Settings | Copy settings from selected layer. |
| Paste Layer | Paste copied layer. Note: You can paste copied layers into another copy of Toolbag. |
| Paste Layer Settings | Paste copied layers settings to selected layer. |
| Paste Mask Stack | Paste copied mask stack to selected layer. |
| Rasterize | Rasterize a layer to a single image. |
| Rasterize With Children | Rasterize selected group to a single image. |
| Merge Selected | Merge all selected layers to a single image. |
| Rasterize Mask | Rasterize selected mask to a single image. |
| Save As Smart Material | Save selected layers as a Smart Material to the library. |
| Export Smart Material | Export selected layers as a Smart Material to the disk. |
| Save As Smart Mask | Save selected layers as a Smart Mask to the library. |
| Export Smart Mask | Export selected layers as a Smart Material to the disk. |
| Clear Contents | Clear all content from selected Paint Layer. |
| Reset Tool Settings | Reset all settings of an active tool of a selected layer to default. |
| Add Mask | Add a mask to the selected layer. |
| Add Layer | Add a new layer to the stack. |
| Add Group | Add an empty group to the stack. |
| Convert Layer | Convert selected layer to another one from the list. |
| Make Pass-Through Blend | Change a group’s blend mode to Pass-Thru. |
| Color | Highlight selected layers or groups with a color. |