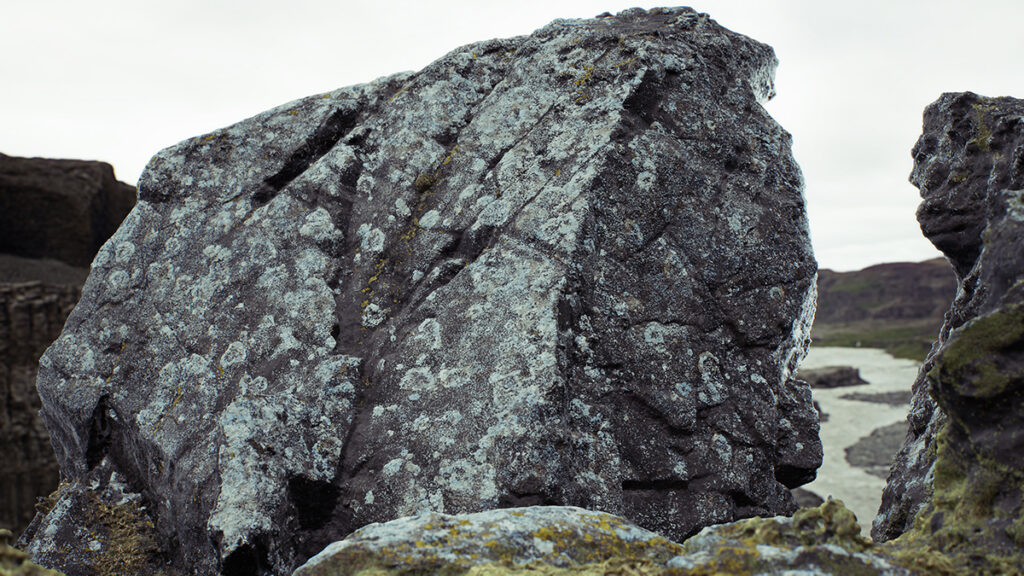
Parallax mode in the Displacement shader module creates the illusion of depth and volume on a textured surface by offsetting texture coordinates based on the observer’s viewpoint, parallax mapping simulates the visual effect of depth, enhancing the perception of three-dimensionality in your materials.
This mode requires a grayscale height texture to be assigned as an input. This method doesn’t need more model polygons for better quality, making it a great alternative to Displacement.
You can bake a height map inside Toolbag, use one of the textures from Toolbag’s Library, paint this map using a Texture Project in Toolbag, or create it using third-party apps:
- Bake Projects in Toolbag: Bake height data from a high-resolution model.
- Texture Projects in Toolbag: Paint or generate height data.
- Toolbag Library: Use pre-made maps.
- Third-Party Applications: Author textures externally.
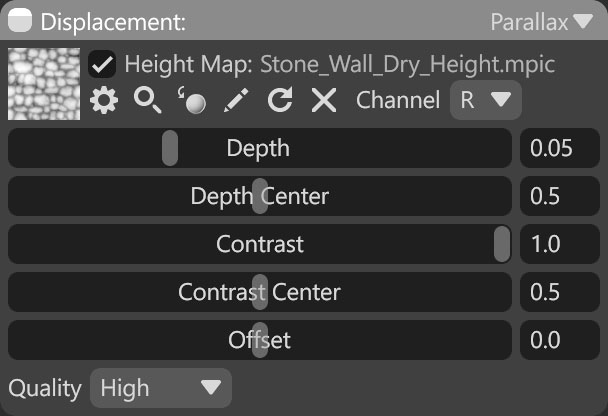
| Setting | Description |
|---|---|
| Height Map Texture Slot | Add a height texture by clicking on the slot or dragging and dropping one from the Library. |
| Channel Selection | Determines which channel of the texture map will be used. It’s useful when, instead of using multiple single textures, you use one texture with different grayscale maps in the different texture channels: Red, Green, Blue, and Alpha. |
| Depth | Sets the intensity of the parallax effect. |
| Depth Center | Sets the gray point, zero point, or “no-displacement” point of the height/depth map. Values above this threshold will displace outward, while values below it will appear to displace inward. |
| Contrast | Adjust the contrast of the height map. It can be useful to increase the difference between the lowest and highest values. |
| Contrast Center | Adjust the value used for the contrast center of the height map. This setting determines, based on which value changes the contrast of the texture. |
| Offset | Offset the map contents. This setting can be useful for fine-tuning. |
| Quality | Quality of the parallax effect. |